


Criss-cross Beaded Weft Extensions Tutorial
In this beaded weft extensions tutorial, join Hailey and learn how to measure, match, cut, and perfect the crisscross method. We love both hand-tied and beaded wefts. Beaded wefts are especially great for volume, faster installation, and easy maintenance.
Sectioning
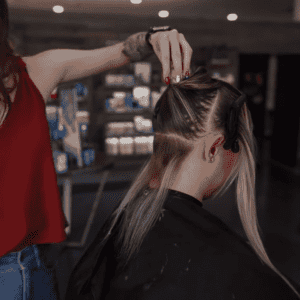
Hailey starts with this extension install service by sectioning out her client’s hair. Clean sections are an essential part of the service. By creating clean sections, Hailey ensures that there won’t be any snags or stray hair where they are not supposed to be.
Placement and Positioning of the Beaded Weft
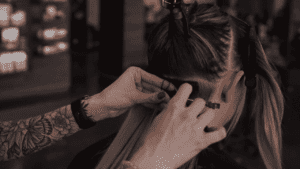
Hailey starts her first section at the nape of her client’s neck. Then works up the back of the head. The number of beads used depends on the shape of the client’s head. Hailey places each bead about an inch apart.
Measure and Cut
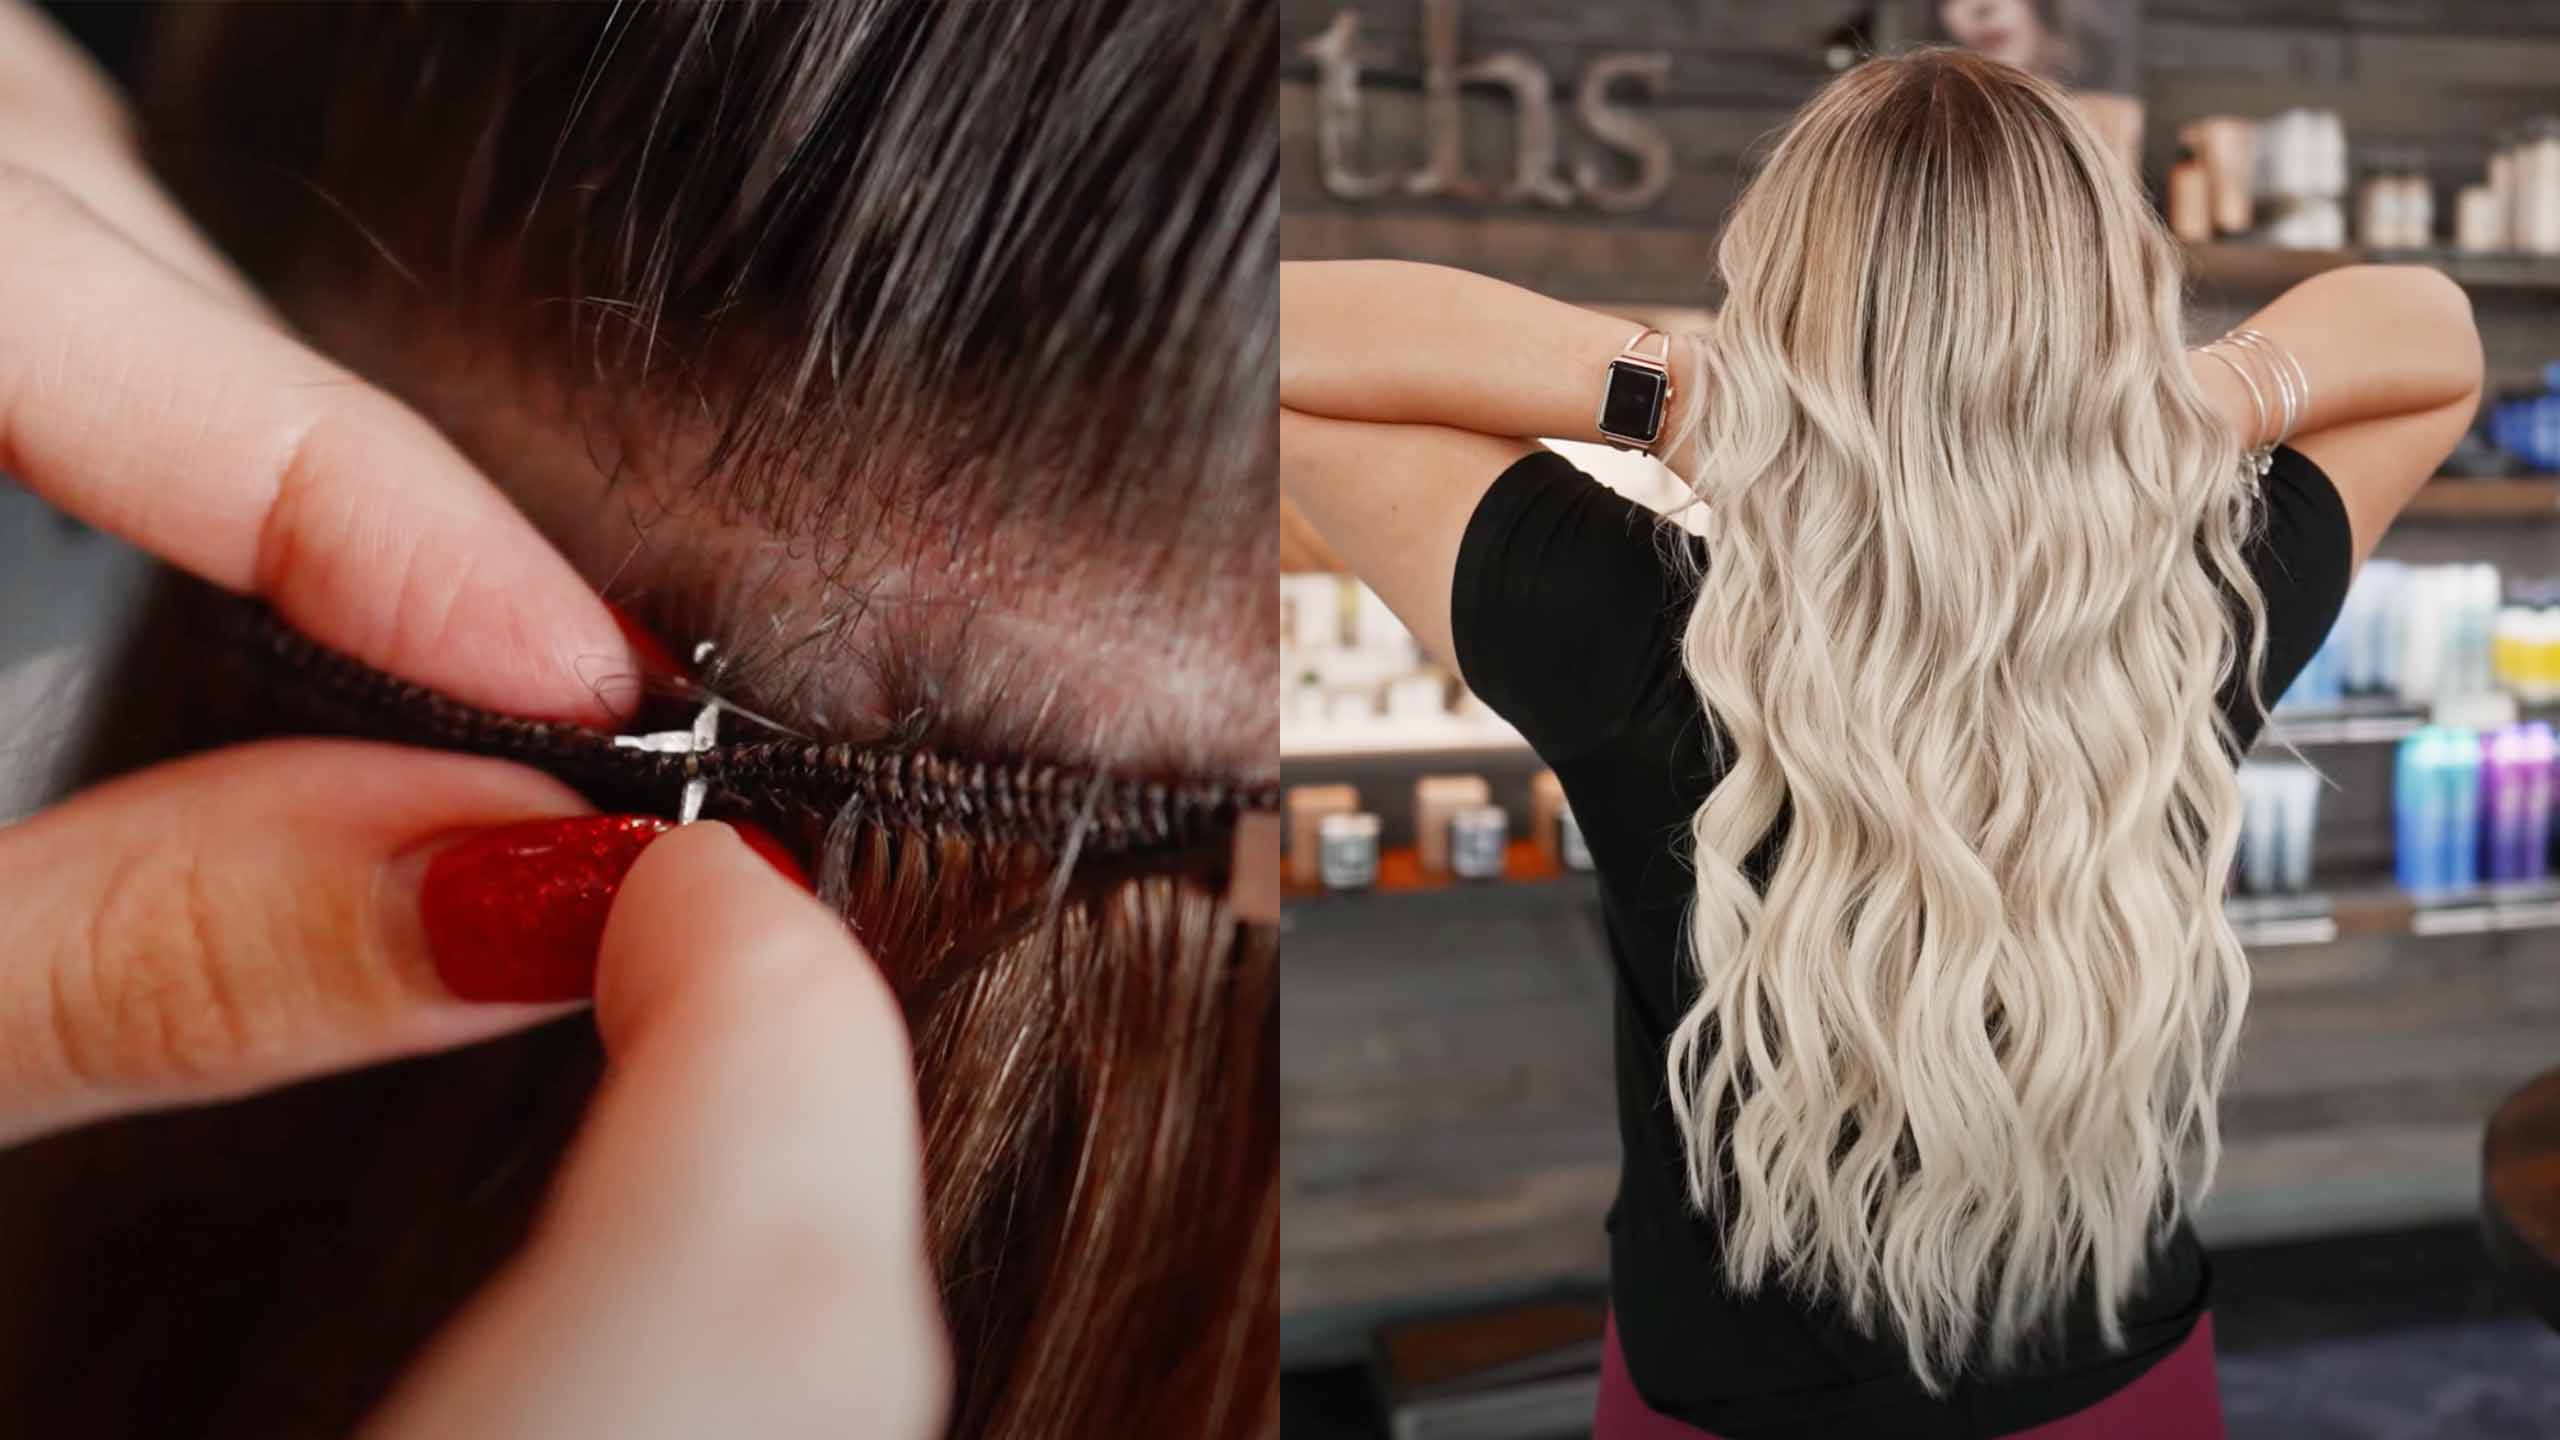
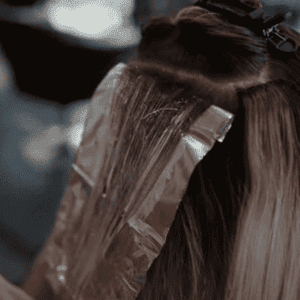
Because Hailey is installing beaded wefts, she has to measure and cut. Hailey does this for each row of extensions she installs. However, she makes sure she doesn’t measure to close the hairline, so the extension doesn’t show.

Technique
By folding the previously measured and cut weft in half, Hailey can find the center point of the extension. At that center point, she inserts her crochet hook through the weft. Hailey then places it at the nape of her client’s neck and pulls the first hair through the weft. Finally, to hold the weft in place, she clips one side of the weft. She likes to do this, so she doesn’t have to mess with loose wefts the whole service.
Criss-Cross Time
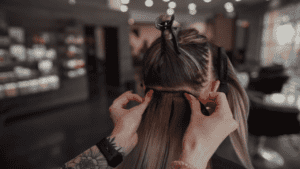
After pulling the centerpiece of hair through the weft, Hailey moves about half an inch to the right. Then, she puts her crochet hook back through to pull through another piece of hair; this is where the crisscross method begins.

Beading Begins
With two pieces of hair pulled through the weft, she is ready to install the first bead. First, she takes the bead and pulls it through the right side, then she puts her crochet hook through the top of the bead and pulls through the other piece of hair. That creates the crisscross in the bead.
Hailey then pulls that bead nice and tight and clamps it in place.
Then she continues that method to secure the beaded weft throughout the whole head.
Anchoring the Beaded Weft
When Hailey gets to the end, she takes a piece of hair through the weft and another not. She then crisscrosses and secures to ensures the weft is anchored to the head. So it won’t lift or move.
Lightening
The nice thing about extensions is that you don’t have to lighten the whole head of hair. Hailey only has to highlight the top section of her client’s hair, which will lay over the rest of the hair. By only coloring the top of the hair, the bottom part stays nice and healthy. The unneeded stress on the hair is prevented.
In The End
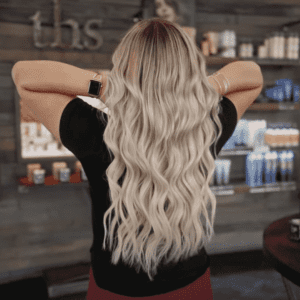
After reading about the crisscross beaded weft method, you have learned the importance of sectioning, measuring, and securing. Check out the full video on Youtube. Subscribe, like, share, and ask any questions you might have there.