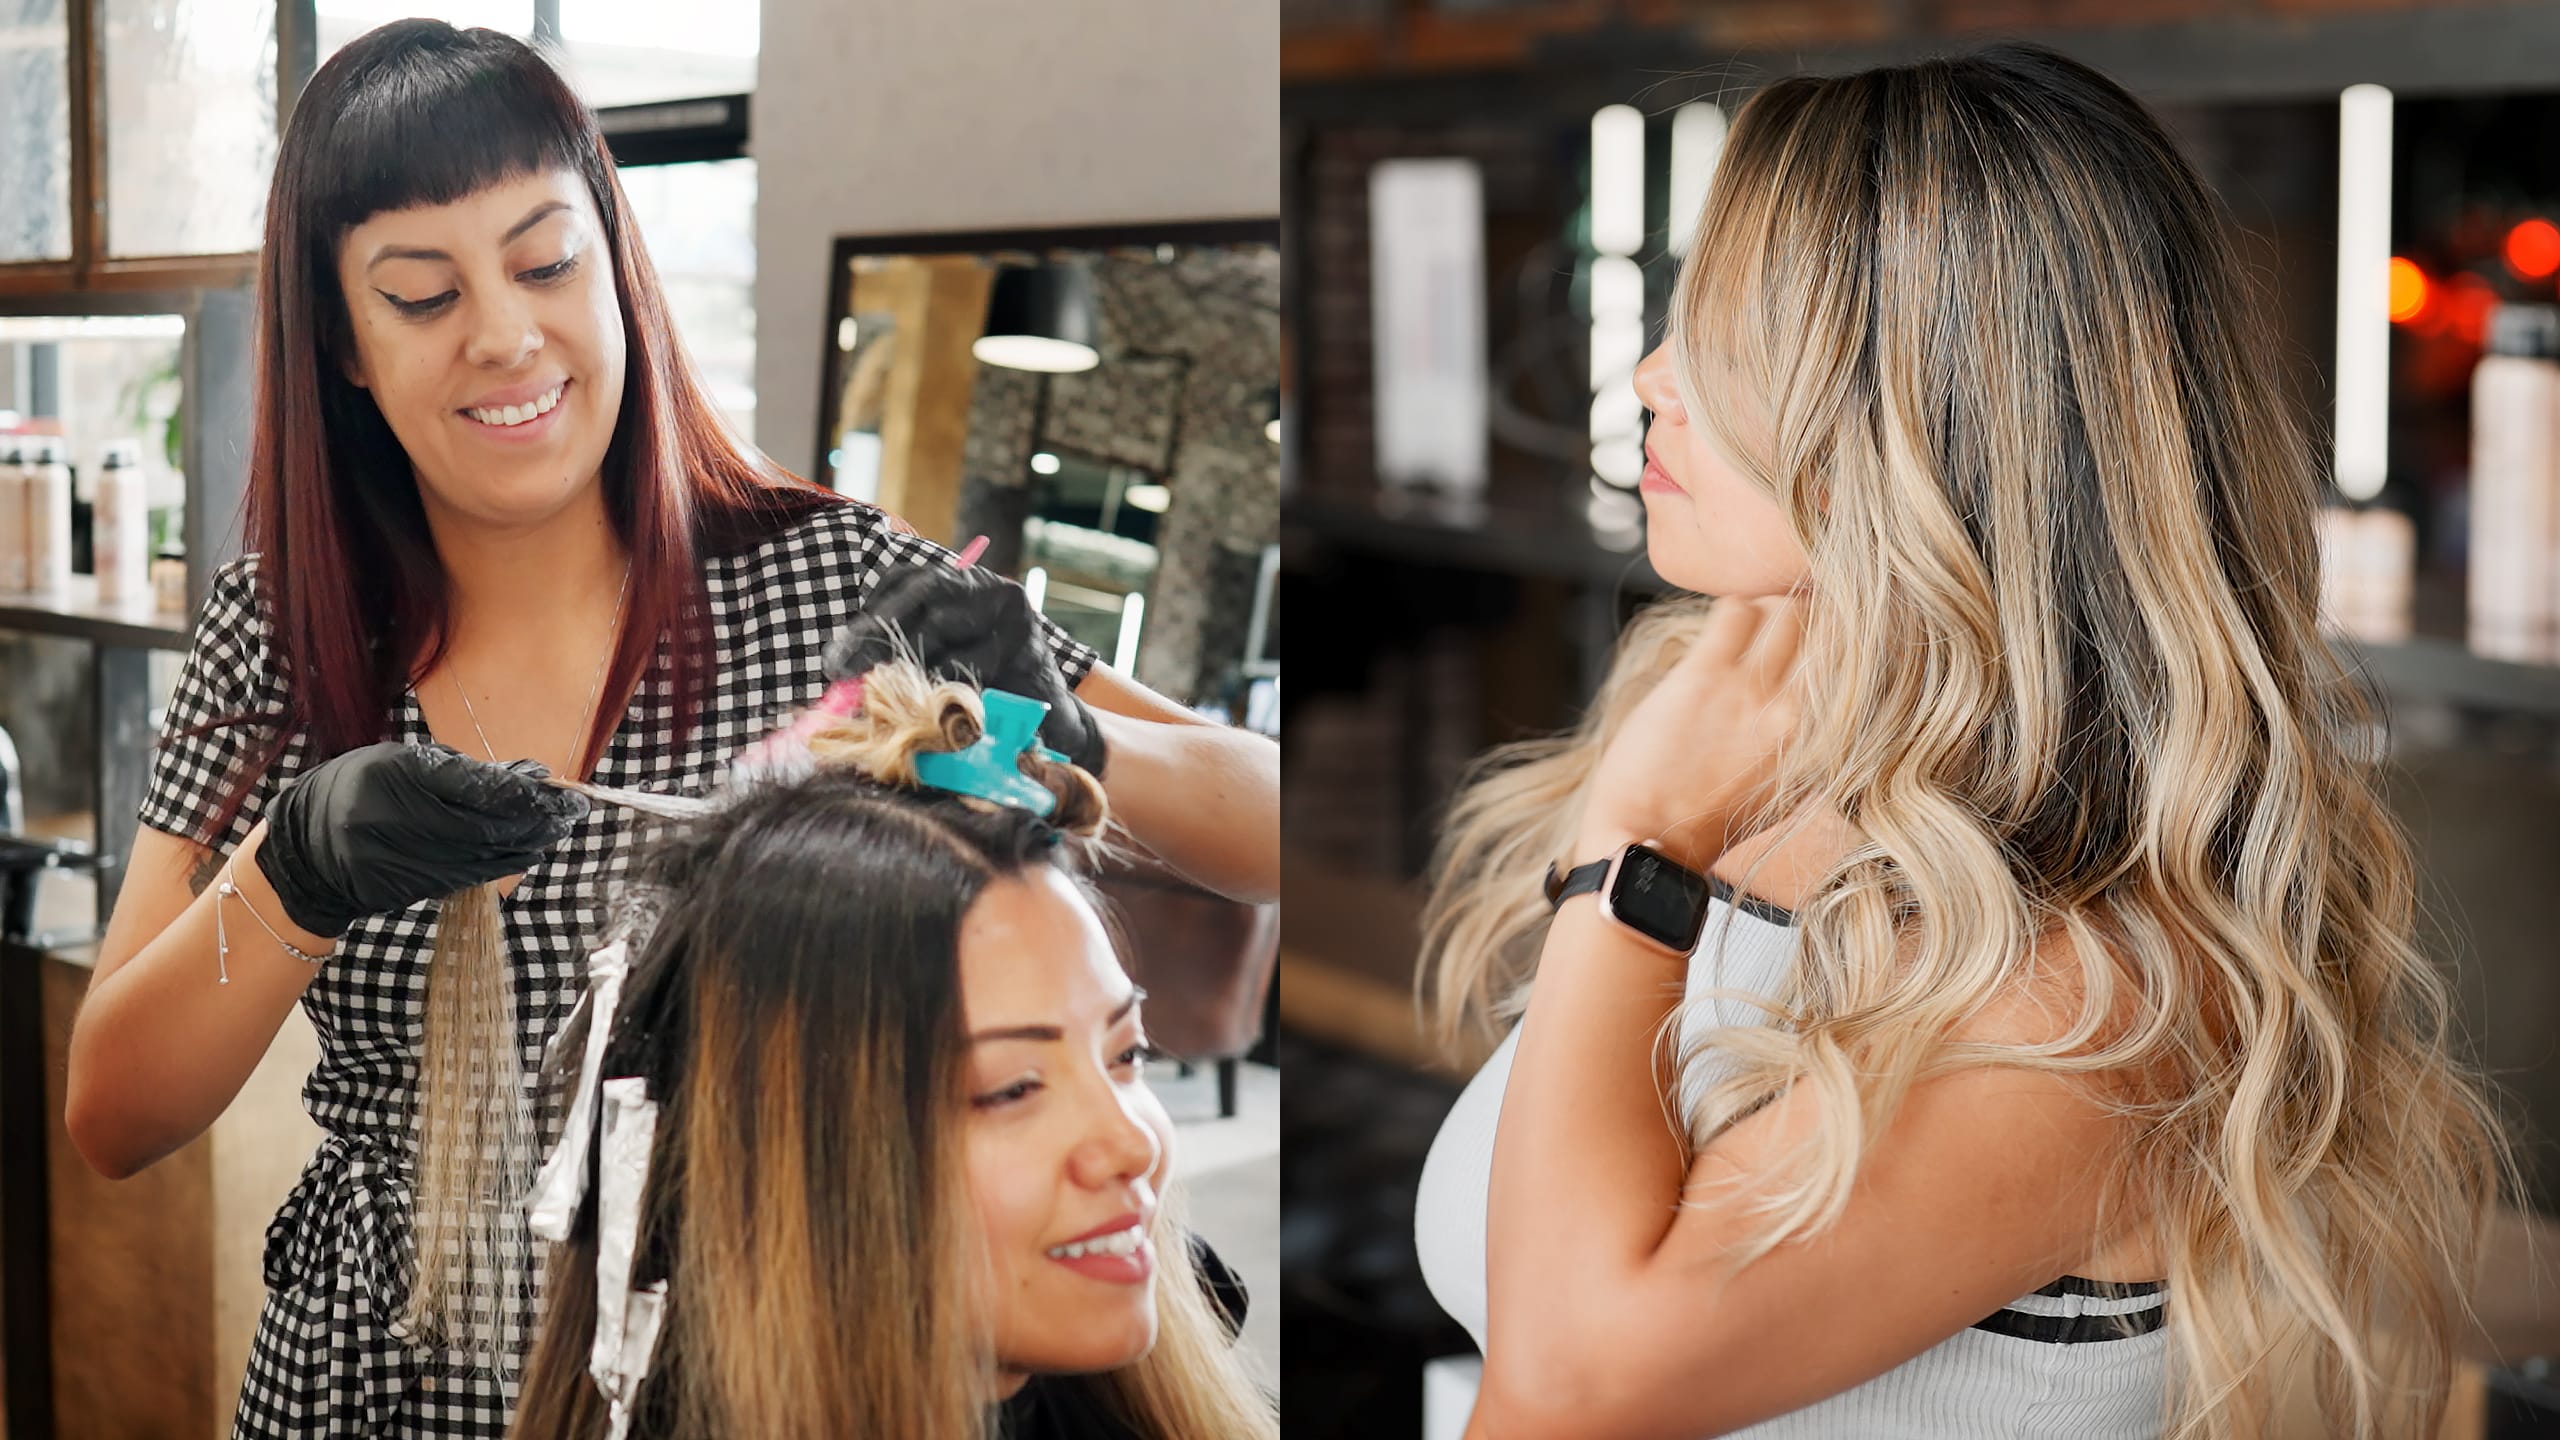
Golden Teasylights, Open Air Balayage, and Tone
Watch how Cindy creates golden teasylights and warm balayage that will grow out beautifully while allowing her client to embrace her natural tones. Today we learn from Cindy as she explains her formulas, sectioning, saturation, the reason for not over foiling, and the importance of the toning process.
Formula
Cindy starts with a 20 volume developer because it takes her a long time to get through all the sections. A 20 volume developer develops slow, allowing Cindy time to apply the rest of the lightener to the head. This will help Cindy get the desired golden teasylights she is looking for. Then if she decides to lighten her client’s previously lightened ends, she will go in with 5 volume so she can maintain the integrity of the hair.
Sectioning
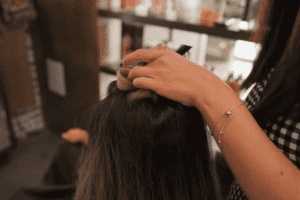
Cindy uses both neckline and side sections throughout the service. When her client puts her hair up, Cindy wants her to have the maximum amount of brightness.
Then it’s teasing, weaving, saturating.
Her sectioning technique will give maximum lightness, golden teasylights, and a warm balayage.
Saturation
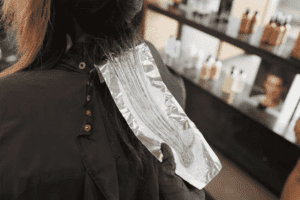
For the first couple sections, because Cindy wants to obtain the maximum brightness for her client, she saturates the top, bottom, and sides. She wants to make sure there is a lot of saturation over each section, so the hair lifts evenly. In some areas, Cindy decided to saturate the ends of her client’s hair, and in others, Cindy doesn’t. She does this by her judgment, depending on the health of her client’s hair.
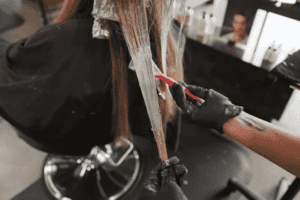
Tease and Paint
Cindy’s client wanted to be lighter all around, so Cindy went back and teased and painted the hair left out of the foils. But, she doesn’t use foils because they only want a little bit of lift. She decided to tease to make sure there was a perfect blend throughout the hair as well as the golden teasylights her client was dreaming for. The hair in the foils will be bright enough to blend it all well.
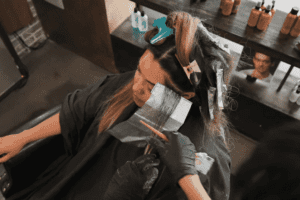
Money Pieces
The front of the hair is an essential part of the look. It is the first thing the client sees when they see their new hair. Cindy went in with a standard weave highlight and applied the lightener as close as possible to the root so she could have maximum brightness.
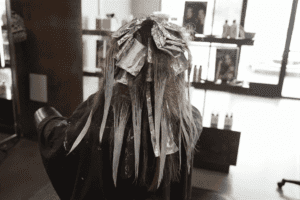
Dimension and Foil Pattern for Golden Teasylights
Cindy does a lot less dimension in the top part of the hair because she doesn’t want her client’s hair to look strippy. To achieve this, she does back-to-back foils.
Cindy only leaves out the hair that has been weaved out.
For the front pieces, she uses a splice because she wants it to be more dramatically bright. Next, Cindy uses a brick lay pattern for her foils to obtain more dimension for the rest of the hair. The brick lay pattern she uses will also help her obtain golden teasylights. She likes to do middle, then sides, over and over again.
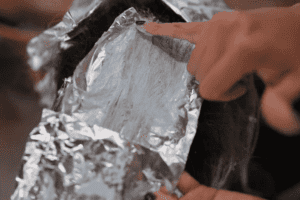
Processing
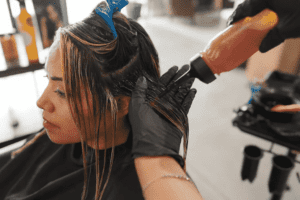
While her client is processing, she likes to keep a close eye on the integrity of her hair. That is the ultimate goal for all hairstylists. To maintain the integrity of the client’s hair. On the ends of the hair, Cindy notices the product has dried. It no longer processes, but she wants to get her client’s level three hair to a level eight, so she makes sure to allow enough time for the hair to process to that point.
Toning and Technique
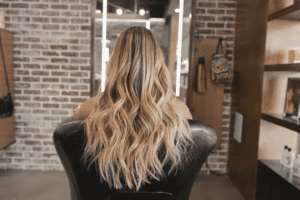
Toning is the most critical part of the service. You could do everything in the service right, but there is no point in doing all the work if you mess up the toning part. Cindy uses a level 9 gold on the ends because of how her client’s hair lightened. She wants to get rid of some extra brightness so it is not so shockingly yellow. The gold is there to dim down that yellow. On the hairline, she lightly taps to get rid of the highlighted line.
Root Shadow
For the root shadow, Cindy uses a level 4 ash to get her client’s hair nice and dark so it can match her natural hair color as much as possible. She pulls down that root shadow more in the back, so it is darker and more dimensional and keeps the root shadow higher in the front, so it is brighter.
Wrap Up
You’ve learned how Cindy creates stunning golden teasylights and open-air balayage as you read about her techniques for formula, sectioning, saturation, and so much more. Check out the full video on Youtube. Subscribe, like, share, and ask any questions you might have there.


